 Rumata
Manage your app
Chapter 7 of 7
Your application is live! Now it’s time to keep things running smoothly. With Rumata, you can monitor your application’s activity, track resource usage, manage your team, and continue making improvements—all from the same workspace.
Check APIs and workers
Verify the service behind the customer task.
Open System Explorer → Services for development/deployment state, logs and API endpoints.
- Select the intended API or worker and environment.
- Inspect its runtime state and logs, then verify an application request and saved result.
Learn more: Backend services
Check how your application is doing
Once people start using your application, you can monitor its activity and identify anything that needs attention directly in Rumata.
Open your application overview
- Go to Home (opens in a new tab) and open your application's factory.
- Switch to System Explorer in your workspace.
- Select Overview to see your application's activity and status.
Understand your overview
The At a glance section gives you a quick look at your application, including:
- Website traffic: The number of requests made to your live website.
- Users and customers: Information about your application's users, when tracked.
- Workflows: Automation activity and reliability.
- Business records: Information stored by your application.
- Stored files: Files and storage associated with your application.
Some metrics may display Not tracked if the information isn't available.
Check for issues
Below the overview cards, Rumata displays your application's current status.
If everything looks good, you may see No action needed. If an issue is reported, follow the available action to investigate it.
You can also:
- Click Refresh to see the latest available information.
- Click Extend overview to explore more detailed statistics about traffic, workflows, databases, and storage.
- Click Hide extended overview to return to the simpler view.
Learn more: Overview and monitoring controls
Check your remaining allowance
Check whether your account has enough capacity for the work ahead.
Open Usage (opens in a new tab) from the main navigation to check each resource’s allowance and usage.
- Open Usage and expand All plan allowances.
- Find the resource and read its used amount, remaining amount, and period.
- If a limit is reached, follow the message for that resource.
Learn more: Usage walkthrough · Quota controls
Work with a teammate
Give a collaborator the access they need to help you build.
System Explorer → Permissions shows groups and invitations. Your account and project already have default groups.
- Open Permissions → Groups and choose the intended team group. If needed, use New, enter Name and optional Description, then Create group.
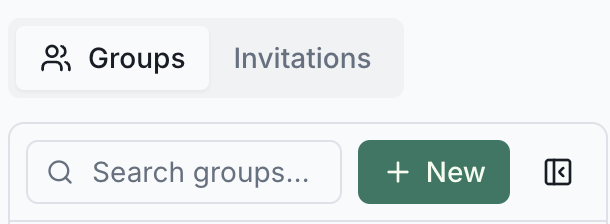
- Ask your teammate for the exact Rumata nickname and enter it in Invite by nickname…; select Invite.

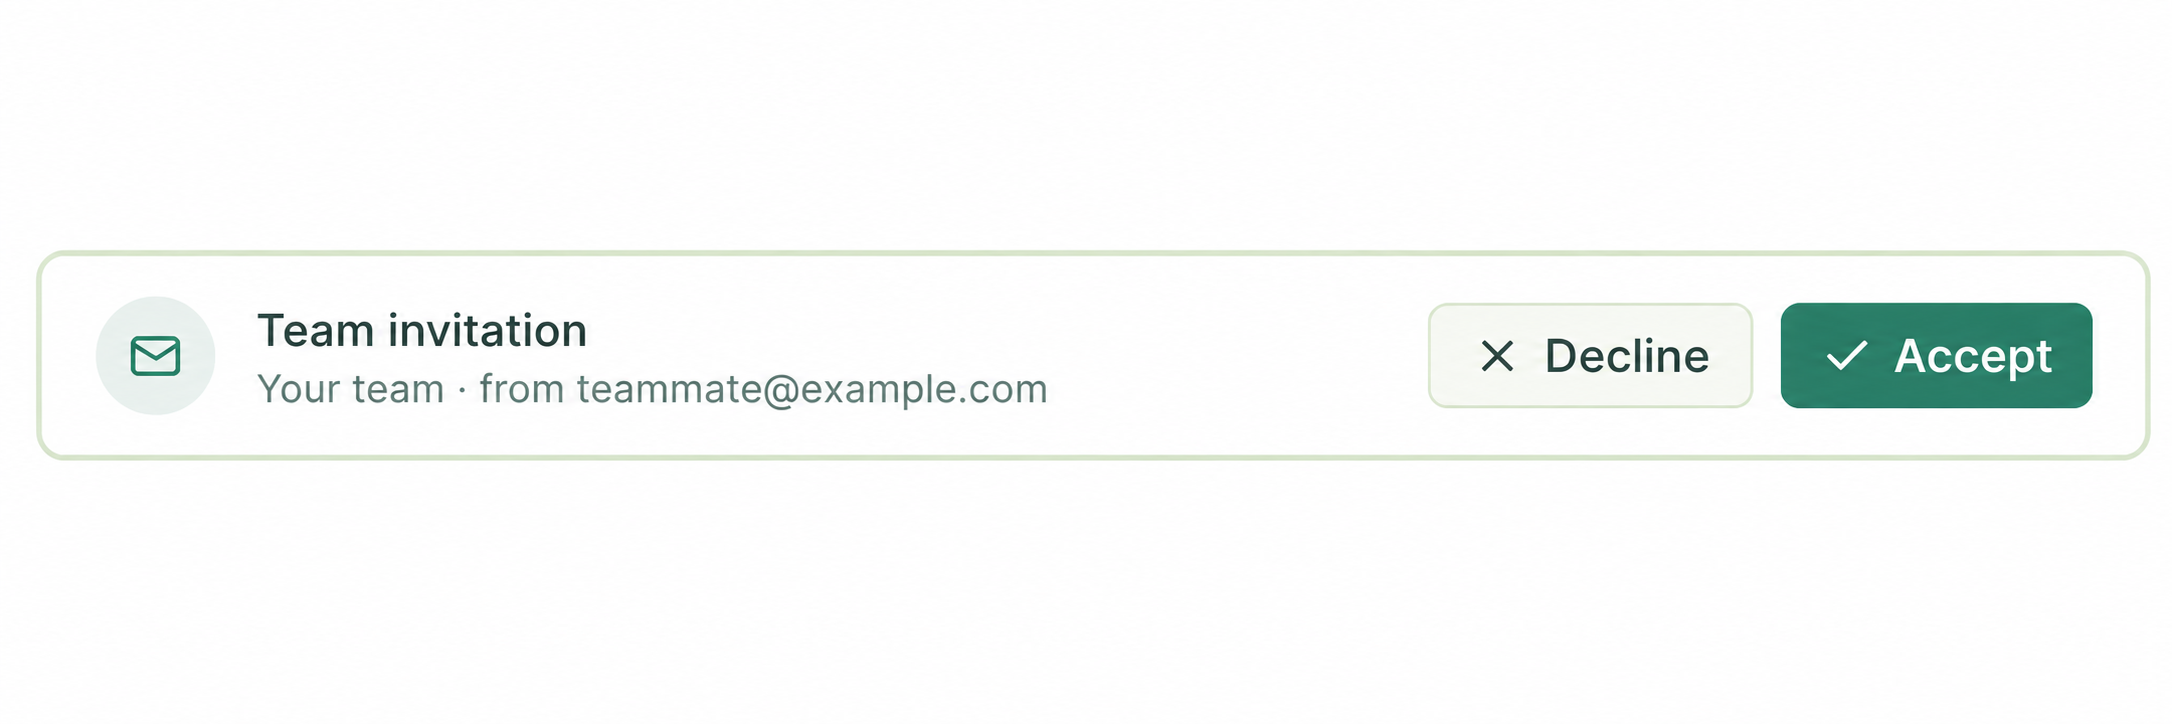
- Have the teammate accept from Invitations in that account.
- Open Manage access on the intended resource, grant the team group the required permissions, and save.
Learn more: Default groups and permissions · Group and permission controls
Join someone else’s project
Join a project you’ve been invited to.
Open Invitations (opens in a new tab) using the account that was invited. The list may be empty if no invitation is pending.
- Open Invitations in the account whose exact nickname was invited.
- Check the group name, then choose Accept or Decline and wait for completion.
- After accepting, reopen the shared factory or resource.
Learn more: Invitation walkthrough
Understand a sleeping resource or stored file
Check resources that need attention when you return to your project.
An idle resource may need to wake before responding. Files are available from System Explorer → Storage.
- Read any wake-up or capacity message before retrying.
- To inspect files, open Storage and choose the relevant storage area.
- Follow the linked reference before changing hibernation, uploading, or replacing a file.
Learn more: Idle hibernation · File storage · Activities · Complex workflows